Showing posts with label Boy Scouts. Show all posts

Friday, March 22, 2013

Philmont Tip # - Don't be a Cheap Stake

Although Philmont provides tents to expedition crews, they do not provide stakes. Therefore, you need to pick up a good set before you go. Even if you bring your own tent, upgrading the stakes from what the manufacturer provides is usually a great idea. The ground at Philmont is often hard and rocky. If your stakes are bent out of shape by day two, you have ten frustrating nights to look forward to when setting up camp.

This summer, I will be taking my Eureka Apex 2XT tent to Philmont. It's a nice three season tent suitable for backpacking, but the stakes are  pretty bad (picture 1). The tent comes with a set of 7" steel stakes that bend  pretty easily.

Picture 1 - Steel Tent Stakes (before and after)

 On past weekend camp outs, I have replaced them with similar length aluminum stakes, which cost about $1.00 each (picture 2) . These work well in normal soil and are definitely more durable than the thin steel ones. After a few uses in rocky ground, they will also bend.

Picture 2 - Aluminum Tent Stake

For Philmont, I picked up a set of y-shaped aluminum stakes (picture 3). They cost a little more than $2.00 apiece on average,but they are your best bet on an extended camp out.

Picture 3 - Aluminum Y-Shape Tent Stake

The Philmont gear list suggests bringing ten stakes per person, which works out to twenty stakes per tent. I don't think that many are necessary. Philmont is all about taking what you need and no more. My suggestion is that you carry one and a half times as many stakes as are required to set up your tent. My tent requires six stakes, so I will take nine. Actually, I will probably take ten, with both me and my tent mate carrying five each. Tent stakes seem like a little thing when you are packing, but it is worth the extra money to buy good ones.

Wednesday, March 6, 2013

Philmont Tip #2 - Get Fit, Earn a Patch


It is vitally important to be in good physical condition before attempting a Philmont Trek. As long as you have to exercise anyway, you may as well earn a patch for it. The BSA has just the thing with the Scout Strong Presidential Active Lifestyle Award. To earn this award, go to

 www.scouting.org/SCOUTStrongPALA.aspx

Go to the tab that allows you to select your state or location and choose it. Select the BSA Council you belong to and then start the PALA challenge. You can then create or login to your account which allows you to keep up with your progress. In order to qualify for the award, an adult must take part in 30 minutes of physical activity at least five days a week for 6 out of 8 weeks. This activity can be almost anything, from yard work to running a triathlon. Youth participants must log 60 minutes of activity five days a week for 6 out of 8 weeks. There are also recommendations for helping to stay on a healthy diet during the program. After successfully completing the program you receive a congratulatory email from the PALA program which you should print and present to your Troop's advancement chairperson to receive the patch.

This award should be easy for anyone going to Philmont. This should be the minimum amount of conditioning you are doing to get ready.

Thursday, March 17, 2011

Apple Galette for Pi Day

March 14th, as every math student knows, was Pi Day, so to celebrate I made an apple galette. These pies without a pie pan are easily made at home or in a dutch oven when camping. I would recommend that you have some experience cooking in a dutch oven before making this, though.

Any recipe for a basic pie crust is acceptable for this recipe. for my crust I used:

1 1/2 cups all purpose flour
1 teaspoon salt
1 tablespoon sugar
8 tablespoons (1/4 lb.) butter, chilled and cut into cubes
4-5 tablespoons apple jack (apple cider if you are a minor), chilled

Combine the flour, salt and sugar in large mixing bowl. Add the chilled butter and with a pastry cutter or your fingertips cut the butter into the flour until the mixture resembles coarse meal. Add the apple jack or cider (you can also use cold water) one tablespoon at a time and stir the mixture until it just comes together as a dry but sicky dough. You may not need the fifth tablespoon of liquid. Form the dough into a ball and wrap with plastic wrap. Store in the refrigerator for an hour to let the dough fully hydrate and the butter firm up again before rolling.

While the dough is resting, it's time to make the filling. I used the following:

2 granny smith apples, peeled, cored and each cut into 12 slices
2 pink lady apples, peeled, cored and each cut into 12 slices
1/2 cup chopped and toasted walnuts
1/2 cup firmly packed brown sugar
1/4 teaspoon nutmeg, freshly grated if possible
2 tablespoons butter

Melt the butter in a 12 inch nonstick frying pan over medium heat. When the butter stops foaming, add the apples and cook, stirring often until softened and slightly browned at the edges, about 10-12 minutes. Add the brown suger and nutmeg and stir until the liquid is syrupy and bubbling, about 5 minutes. Stir in the walnuts and remove from the heat.(Fig. 1) Set this aside to cool until the dough is ready.

Figure 1 - Apple and Walnut Filling

After the dough has chilled for an hour, roll it out on a lightly floured work surface until you have a 16 inch round. Either line a baking sheet with parchment paper or grease it well and carefully transfer the pie crust to the baking sheet. Pour the apple mixture onto the center of the crust, making a mound that is about 8 inches across and 2 inches high. Gently fold the edges of the dough over the apples, forming pleats as you go around and leaving a four inch wide opening at the top. Beat one egg in a bowl and brush this egg wash over the dough to create a nice brown crust. Bake in a 375 dgreee oven for 45 minutes. Use the parchment paper to help transfer the galette to a cooling rack. (Fig. 2) After 30-45 minutes transfer to a large plate for service.(Fig. 3) This dish can be served slightly warm or at room temperature and it goes great with homemade vanilla ice cream. Enjoy.

Figure 2 - Galette Cooling on Wire Rack

Figure 3 - Ready to Eat !

Tuesday, May 25, 2010

More Cache to Eagle series and meeting the Grandnephews

Over the weekend Matthew, Diana and I found a few more geocaches. We found caches number 2 and 3 of the Council 10 Cache to Eagle series. One was in the Spring Creek Preserve near Garland where an Eagle Scout had cleared some of the walking trail of excess vegetation and installed a bench. The other was a multi cache at the Rockwall Public Library. A scout from that area had organized a book drive.

We also picked up another travel bug at a cache near our local Target store. I noticed when searching for nearby caches that the Bionicle travel bug was hidden over there and since we are huge Lego fans we had to go for it. Matthew and I plan to use it in a Lego movie and then place it, along with the Serial Kacher geocoin and our own travel bug, in a new cache we will hide inside Wynne Park in Garland near my parent's house.


Diana with Danny (top) and Connor (bottom). Both of them were ready for a nap about this time.
On Saturday, we went over to my brother Danny's  house to visit him and his wife Susan and my nieces Sherry and Pamela, but most importantly to visit my new grandnephews Danny and Connor. Afterwards, we searched for and found a nearby cache that was pretty hard to get to but contained some cool stuff. I left behind a bracelet I made. The first one I've done since I began to learn how to make beads. Hopefully, someone will like it.


Wednesday, May 19, 2010

BSA Cache to Eagle Series


Today Matthew and I found the first cache in the Cache to Eagle series of geocaches that is being sponsored by the Circle 10 Council of north Texas. Each cache is hidden near the site of an Eagle Scout's project. Today we visited the prayer labyrinth that was built by an Eagle Scout of Troop 1989 in Garland, Texas for the First Presbyterian Church. We will be visiting other caches in the series over the next few days.

Monday, May 17, 2010

We Start Geocaching

Yesterday, Matthew and I started a new activity: geocaching. The Boy Scouts have recently added Geocaching as a merit badge and it sounded like fun. Our GPS unit arrived a couple of days ago and we've been learning how to use it and looking up geocache coordinates in our area. Being in a large metropolitan area there are lots of caches around us. We tried for four different caches and were successful on the last two. We will try again for the first two on another day. I think as our search pattern techniques get better we will have more luck.


Matthew is holding the container from the first cache we found, Ducks Gone Wild in Bass Park in Garland. Although it was only a few feet away from the walking trail, it took us a while to find it, mostly because of our inexperience in how to look around. Just as we were about to give up, we found it under a suspicious pile of rocks. Even though the container was not completely watertight there was a lot of good swag inside. Matthew took a small enamel pin and we left a toy penguin. We signed the log and made sure to replace it just as we found it.


After this success, we decide to head back to a cache that we were unable to find the day before called Shear Dropoff near our house. The cache was located near a small creek close to our house. We had no luck at all looking for it the day before, but this time we practically walked right to it. Matt had to squeeze into some dense undergrowth to get to it, but otherwise it was very easy to find. Having a thin youngster with you is definitely an advantage when geocaching.


The main reason we wanted to try this one again was because it contained a geocoin we wanted to retrieve. It was still there, so we took it and left a bandana behind. We will help the coin get a little further down the trail. Travel bugs and geocoins are always fun to find. We plan to release one of our own soon. The coin we found here is called Serial Kacher.


After signing the log and carefully replacing the cache we headed for home, a bit scratched and mosquito bitten but very happy after a successful afternoon of geocaching.

Sunday, May 2, 2010

Rattlesnake Neckerchief Slide

Recently, when I was leading a Cub Scout BALOO training course here in Garland, I needed something for us to do as a gathering activity while every one was arriving in the morning. I wanted to do something that they could take back to their den meetings, so I settled on this slide design. It's easy enough that a Tiger cub can make it with a bit of adult help and it looks good enough that Webelos and Scouts will want to wear it.

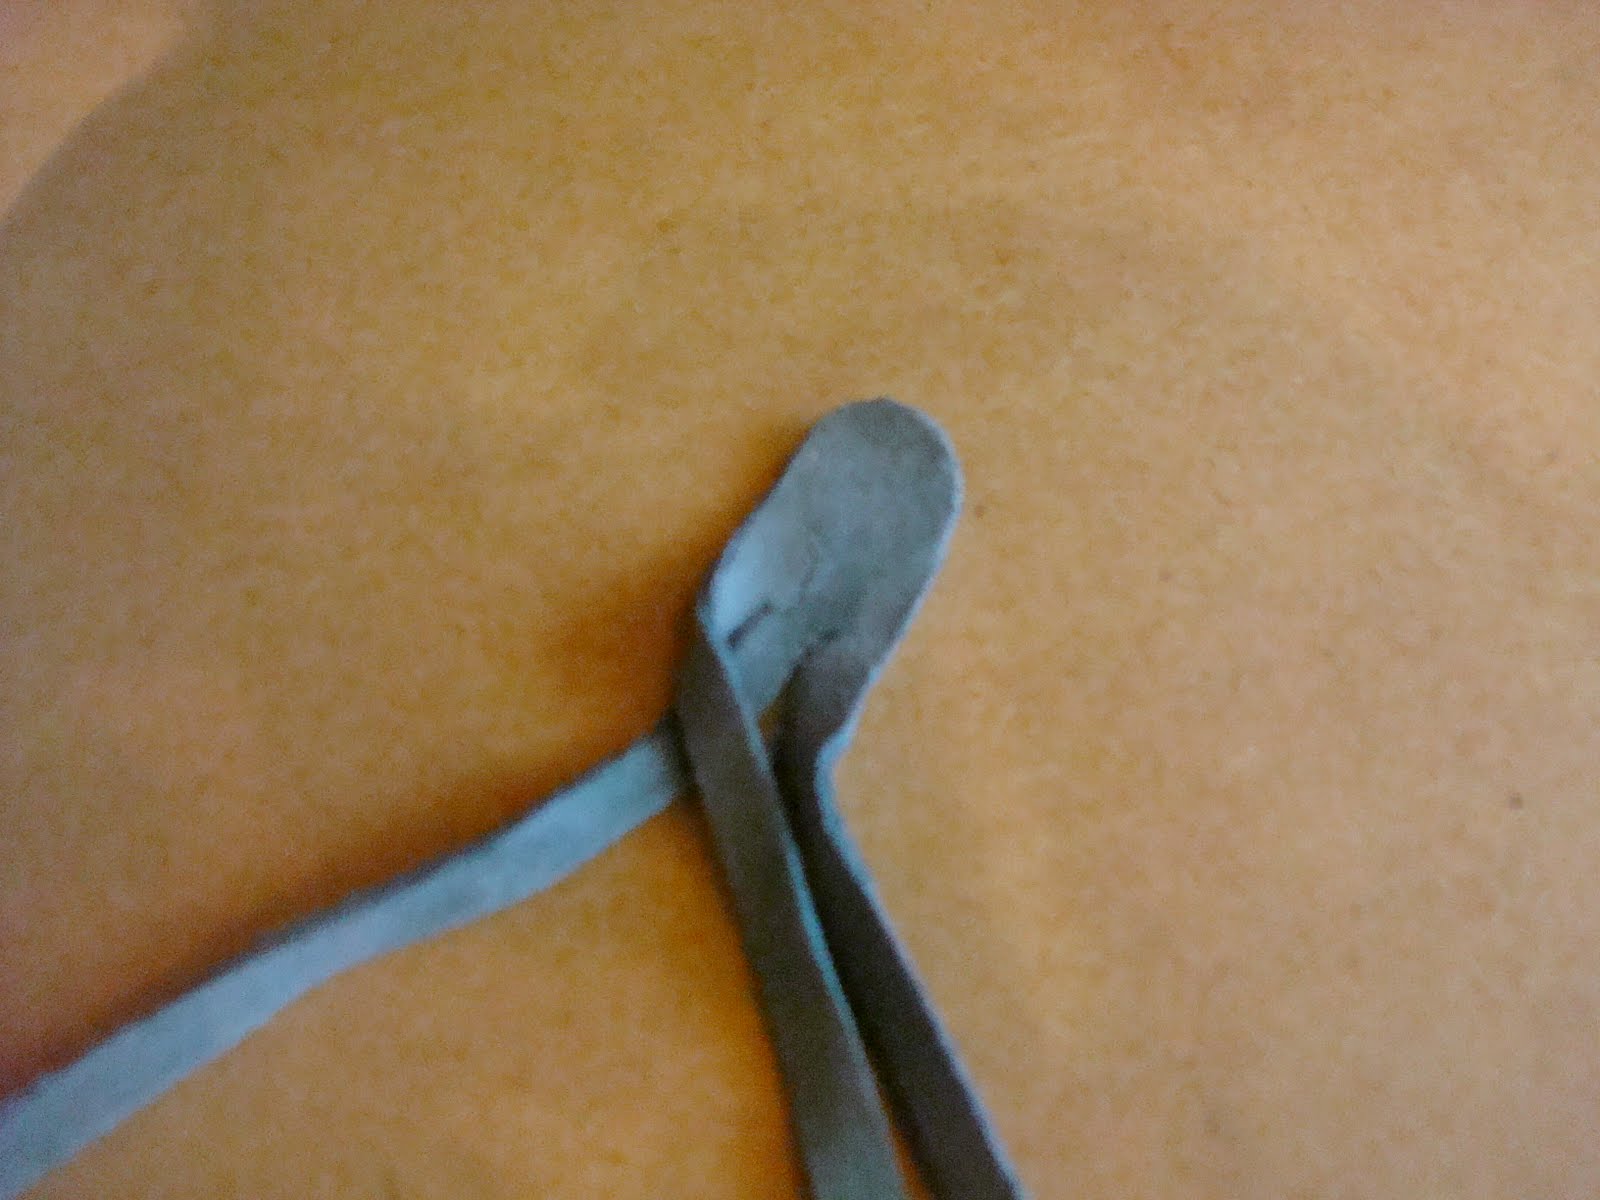
    1. Start with a 12 inch by 3/4 inch piece of suede leather or faux leather material (which is much less expensive if you need to make a lot of these)

2. Using a very sharp knife or razor blade round the corners of one side of the strip of leather and split the leather into three 1/4 inch strips up to about 1 inch from one end. Do these first two steps before your meeting to save time.


3.  Begin weaving the three strands together. Make sure to fold over the strands as you weave them to give the snake body a more three dimensional look. Hopefully, these pictures show what I mean.


4. Continue weaving until you are three inches from the end of the leather. Wrap one of the strands around the others two or three times and hot glue in place.


5. Trim off the excess leather from the strip you wrapped around the snake. Using scissors or a razor, trim the ends of the remaining two strands down to 1/8 inch in thickness. If you don't, they will be too thick to put beads on.


6. String three pony beads onto the two leather strands and secure the last one in place with a small drop of hot glue. Trim off the leather strands so that they extend about 3/4 inch past the beads. Keep one of the pieces you trim off for later use.


7. Using a leather punch, cut two eyes in the snake's face. split the end of the saved piece of tail leather to create a forked tongue and hot glue it to the underside of the snake's head.


8. Loop the snake to create about a one inch diamter slide and hot glue together. You are finished!  I hope you and your Cub Scouts have fun making this slide. Please let me know how it works out or any improvements you make.

Wednesday, April 21, 2010

Gray Owl Spring Camporee


This past weekend my Troop, Troop 57 out of Garland Texas attended the spring Camporee. The theme this time was cooking and the main competition was the Iron Chef contest. We had a great time hanging out with other local troops. The scouts built a rather elaborate tree structure to practice their knot tying skills. As a troop, we had good fortune in the cooking contests, taking third place in the cobbler contest with an apple-rhubarb cobbler. We also won the Iron Chef Award. the secret ingredient was Spam and we entered four dishes: Spam Tamales, Spam on Bowtie Pasta, Asian Spam Lettuce Wraps and Philly Spamsteak Sandwiches. The goal was to create a sort of world tour with Spam. I've posted the recipes under the Camping Recipes tab at the top of the site.